
Table of Contents
- Why Fleet Vehicle Maintenance Inspection Matters
- Fleet Vehicle Inspection Checklist: What to Check
- Pre-Trip Inspection Checklist for Trucks
- Fleet Preventive Maintenance Schedule by Vehicle Type
- Fleet Maintenance Recordkeeping and Documentation
- Defect Severity and Repair Escalation
- Inspection Performance Metrics and Compliance
- Common Inspection Mistakes to Avoid
- Frequently Asked Questions
Last Updated: October 15, 2026
Why Fleet Vehicle Maintenance Inspection Matters
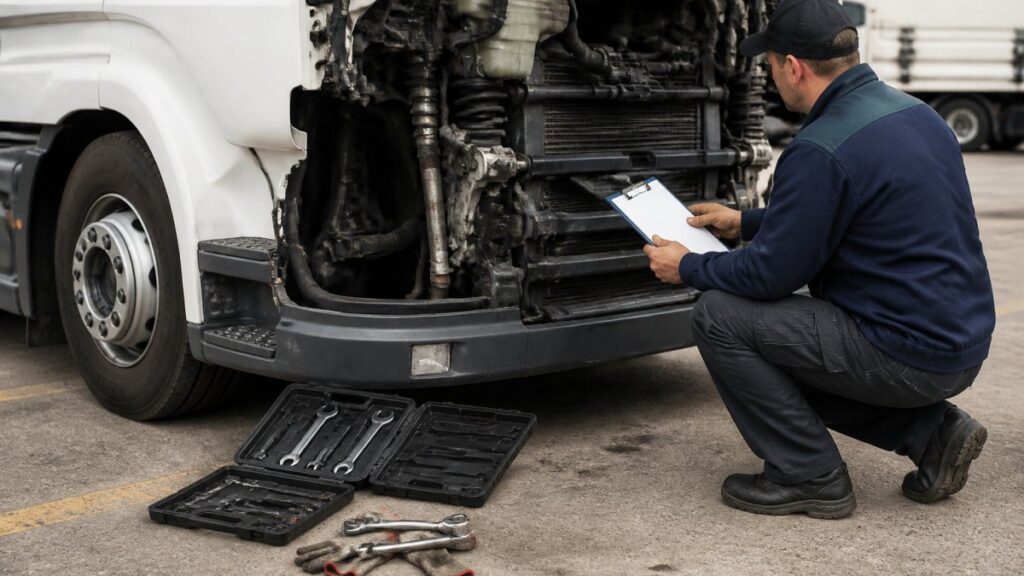
A single missed finding can cost thousands in emergency repairs or create a safety liability. Fleet vehicle maintenance inspection protects your investment, drivers, and bottom line.
Systematic inspection extends vehicle lifespan, reduces downtime, and avoids compounding deferred-maintenance costs, a five-minute tire pressure check prevents a blowout that could sideline a vehicle for days.
The difference between profitable fleets and money-losing ones is discipline.
Fleet vehicle maintenance inspection is your first line of defense against hidden damage, safety failures, and unexpected downtime that disrupts operations.
Fleet Vehicle Inspection Checklist: What to Check
An effective fleet vehicle maintenance inspection checklist organizes checks by vehicle zone so nothing gets missed, and separates routine observations from defects requiring immediate repair.
Exterior and Undercarriage
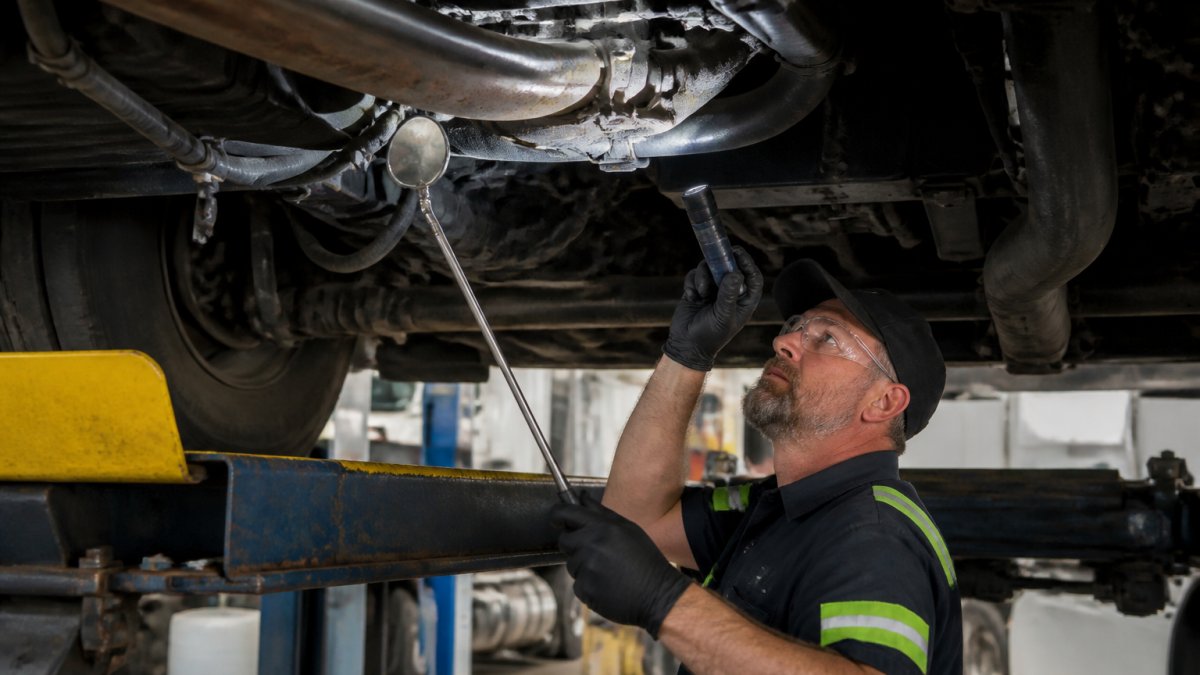
Walk the perimeter for body damage, rust, loose trim, and signs of collision repair. Check underneath for fluid leaks, oil, coolant, transmission fluid, and brake fluid all tell a story.
Inspect the undercarriage for frame damage, bent components, or prior accident evidence; severe rust compromises structural integrity. Document findings with photos as your baseline.
Tires, Wheels, and Suspension
Tire condition is non-negotiable. Measure tread depth with a gauge; regulations require a 2/32-inch minimum, though many fleets replace at 4/32 inch.
Check wheel bearings for play by moving the tire side to side, then spin it and listen for grinding. Highway-speed vibration often points to wheel balance or bearing wear.
Engine and Fluid Systems
Check oil level, color, and consistency, dark, gritty oil means the filter is overdue. Low or discolored coolant (rusty brown instead of bright green or orange) indicates system problems.
Inspect hoses and belts for cracks, fraying, or age, a glazed serpentine belt fails without warning.
Braking and Steering Systems
Check brake pad thickness, most pads should be at least 1/4 inch. Inspect rotors for scoring, warping, or uneven wear, and spin each wheel to feel for drag.
Test steering for play, looseness suggests worn tie rods, ball joints, or steering box components. Check power steering fluid and listen for squealing or groaning when turning.
Lighting, Wipers, and Safety Equipment
Test all exterior lights: headlights, taillights, brake lights, turn signals, and clearance lights. A burned-out light is a safety hazard and compliance violation.
Verify safety equipment is present and functional: fire extinguisher, reflective triangles, first aid kit, and spare fuses. Check the windshield for cracks obstructing the driver’s view.
Pre-Trip Inspection Checklist for Trucks
A pre-trip inspection is a 10-15 minute walk-around that catches critical defects before a driver leaves the yard. What separates a checklist that works from one that gets skipped is structure: organize checks by zone, tag findings by severity, and give drivers a one-tap way to report with a photo and odometer reading, the biggest lever for turning paper into a maintenance workflow.
Zone 1: Walk-Around (Exterior)
Start at the driver’s door and move counter-clockwise. Check body panels for new damage, mirrors for cracks and adjustment, and the windshield for chips in the driver’s line of sight. Look for fresh fluid spots, oil, coolant, and brake fluid each leave a distinct color and smell.
Zone 2: Tires and Wheels
Check each tire for tread depth, sidewall damage, and embedded objects. A gauge beats a visual check; note each position’s reading. Uneven wear points to alignment, inflation, or suspension problems. Check lug nut indicators and listen for air leaks at valve stems.
Zone 3: Lights and Safety Equipment
With a second person or reflective surface, verify headlights (low and high beam), taillights, brake lights, turn signals, four-way flashers, and clearance lights. Confirm the fire extinguisher is charged and mounted, triangles are present, the first aid kit is stocked, and spare fuses are aboard.
Zone 4: Under the Hood
Check engine oil level and color, coolant reservoir level, washer fluid, and power steering fluid. Inspect belts for cracks or glazing and hoses for soft spots or seepage. Check battery terminals for corrosion and confirm the hold-down is tight, a quick serpentine belt glance prevents a mid-route failure.
Zone 5: Cab and Controls
Start the engine and listen for unusual noises. Test brake pedal firmness and travel, parking brake hold, horn, wipers and washers, and heater and defroster. Confirm seatbelts latch and retract, and note any warning lights that stay illuminated after start-up.
Zone 6: Air Brake Check (Air-Brake Equipped Vehicles)
For air-brake vehicles, build pressure to governor cut-out, then perform the static leak test: engine off, parking brake released, hold the service brake one minute and confirm pressure loss stays within the manufacturer’s limit (commonly 3 psi for a single vehicle). Listen for leaks at gladhands, drain valves, and brake chambers.
Tagging Findings by Severity
A checklist is only useful if the driver knows what to do with a finding. Use three tags:
- Red (Do Not Operate): Brake defect, steering defect, tire failure, missing required light, or any unsafe condition. Driver stops and notifies dispatch immediately.
- Yellow (Repair Before Next Dispatch): Fluid leak, worn wiper, cracked mirror, inoperative accessory light. Vehicle completes the current shift only if safe, then goes to the shop.
- Green (Monitor): Cosmetic damage, minor seep, slow tire pressure loss within tolerance. Document and re-check at next pre-trip.
Mobile-First Reporting
Give drivers a phone-based form capturing vehicle number, odometer, a timestamped photo of each finding, and the severity tag. It should route automatically to the maintenance queue and generate a work order number. This eliminates paper’s two failure points, lost forms and verbal handoffs that never reach the shop, and the timestamped photo is the strongest evidence in a post-incident review.
A pre-trip inspection that is not documented did not happen, as far as compliance and liability are concerned. The photo-and-timestamp record is the difference between a defensible inspection program and an unverifiable one.
Fleet Preventive Maintenance Schedule by Vehicle Type
A preventive maintenance schedule that ignores duty cycle either over-services some vehicles or under-services the hardest-working ones. Set a baseline interval by vehicle class, then adjust with a severity multiplier based on actual use, the step most published schedules skip, and where real cost savings and reliability gains live.
Baseline Intervals by Vehicle Class
These are starting points, not final answers. Always reconcile against the manufacturer’s published schedule for the specific make and model, which governs warranty coverage.
- Light-duty (vans, pickups, sedans): Oil and filter every 5,000-7,500 miles; tire rotation every 6,000-8,000 miles; brake inspection every 15,000 miles; transmission fluid and coolant service every 30,000-60,000 miles.
- Medium-duty (box trucks, service bodies): Oil and filter every 10,000-15,000 miles; brake inspection every 10,000-12,000 miles; chassis lubrication every 6,000-10,000 miles; coolant and transmission service every 30,000-50,000 miles.
- Heavy-duty (tractors, dump trucks, refuse): Oil and filter every 15,000-25,000 miles; brake inspection every 8,000-12,000 miles; differential and transmission service every 50,000-100,000 miles; cooling system service annually or every 100,000 miles.
The Severity Multiplier: How Duty Cycle Changes the Schedule
Apply a multiplier to the baseline interval based on operating conditions. Below 1.0 shortens the interval; 1.0 leaves it unchanged.
- Stop-and-go / high-idle (refuse, delivery, municipal): 0.6-0.7. Brakes, transmission, and cooling systems work hardest here. Halve the brake inspection interval and shorten oil changes by 30-40%.
- Heavy load / towing (construction, aggregate, utility): 0.7-0.8. Differentials, wheel bearings, and suspension take the load. Inspect wheel seals and hub play at every service.
- Extreme cold (sustained below freezing): 0.8. Battery capacity drops, oil thickens, and short trips never reach operating temperature. Test batteries at every oil change and use block heaters where available.
How to Set Your Own Intervals
Start with the manufacturer’s baseline, apply the severity multiplier for each vehicle’s duty cycle, then validate with oil analysis. A used-oil sample at each oil change shows whether the oil still had life or was breaking down; two or three samples establish a trend that tells you whether to extend or shorten the interval.
Electric and Hybrid Fleet Vehicles
Electric and hybrid vehicles eliminate oil changes, spark plugs, and transmission fluid, but introduce inspection points conventional schedules don’t cover.
- High-voltage system: Inspect orange high-voltage cables for chafing, corrosion, and secure connections at every service. Only qualified technicians should work on these systems.
- Battery condition and thermal management: Monitor state of health through the vehicle’s telematics or diagnostic port. Track range degradation over time; a gradual decline is normal, a sudden drop warrants a dealer diagnostic.
- Regenerative braking: Brake pads wear more slowly because regen does most of the stopping, but calipers and rotors can seize from lack of use. Inspect and exercise the friction brakes at every service.
Seasonal Adjustments
Inspection emphasis should shift with the season. Winter: battery load test, tire tread and pressure, brake performance, defroster function. Summer: cooling system pressure test, tire pressure (heat raises pressure and reveals slow leaks), air conditioning performance. Spring and fall: undercarriage wash to remove road salt, and a full brake and suspension inspection after the prior season’s extremes.
Build the severity multiplier into your fleet management system as a per-vehicle attribute. When the multiplier changes, the next service due date recalculates automatically. This is the simplest way to keep a mixed fleet on the right schedule without manual tracking.
Fleet Maintenance Recordkeeping and Documentation
Maintenance records are your proof of compliance and defense against liability.
A centralized records system makes it easy to track vehicle history, identify patterns, and prove scheduled maintenance.
Use a simple format: VIN, date, mileage, inspector name, findings, and next inspection date, plus photos of significant defects.
Defect Severity and Repair Escalation
Not every defect requires immediate repair.
Critical (Do Not Operate): Brake or steering failure, missing lights, tire failure, frame damage, or any unsafe defect.
Deferred (Monitor): Very minor issues like a small dent or non-critical burned-out light.
This hierarchy prevents overspending on urgent repairs while ensuring critical safety issues get immediate attention.
Inspection Performance Metrics and Compliance
Tracking inspection performance metrics gives visibility into fleet health and flags vehicles or systems needing attention. Key metrics:
- Inspection Completion Rate: Percentage of scheduled inspections completed on time. Target: 100%
- Defect Detection Rate: Number of defects found per inspection. A declining rate may indicate inspector fatigue or complacency
- Repair Completion Rate: Percentage of identified defects repaired within the scheduled timeframe
Regular audits ensure consistency and catch gaps. If one inspector finds defects another misses, standardize the checklist and retrain. If certain vehicle types fail more often, check whether your maintenance schedule is adequate.
Compliance depends on documentation, regulators and insurers may request proof you’re inspecting on schedule. Your records are your evidence.
Set inspection performance metrics as part of your fleet management dashboard. Review them monthly and adjust maintenance schedules based on what the data reveals about vehicle condition and failure patterns.
Common Inspection Mistakes to Avoid
The most common mistake is treating inspection as a checkbox exercise rather than a safety and cost-control tool.
Another mistake is failing to document findings, an unrecorded inspection has no value for reference or compliance.
Many fleets skip seasonal adjustments.
Finally, avoid deferring repairs assuming they’ll stabilize.
Fleet vehicle maintenance inspection is the foundation of reliable operations. Our mobile inspectors travel to your vehicle and provide the independent oversight you need to make confident decisions. ORDER INSPECTION
Frequently Asked Questions
What should be included in a fleet vehicle inspection?
A comprehensive fleet vehicle inspection covers exterior condition (dents, rust, glass), tires and wheels (pressure, tread depth, wear patterns), undercarriage (rust, frame damage, leaks), engine compartment (oil level, coolant, belts, hoses), braking system (pad thickness, fluid condition), steering and suspension, and all safety systems including lights, wipers, and emergency equipment. Documentation of vehicle identification, mileage, and any defects found is critical for compliance and repair follow-up.
How often should fleet vehicles be inspected?
Inspection frequency depends on vehicle type and duty cycle. Light-duty vehicles typically need pre-trip inspections before each shift and comprehensive maintenance inspections every 3-6 months. Heavy-duty trucks often require daily pre-trip checks and detailed inspections monthly or every 5,000-10,000 miles. Electric and hybrid vehicles may need specialized inspections of battery systems and regenerative braking components. Establish a fleet preventive maintenance schedule based on manufacturer recommendations and your operating conditions.
What is the difference between a pre-trip inspection and preventive maintenance?
A pre-trip inspection is a quick safety check performed daily before a vehicle enters service, focusing on immediate hazards like tire pressure, brake function, and lighting. Preventive maintenance is scheduled service at fixed intervals (oil changes, filter replacements, fluid top-ups, component wear assessment) designed to prevent breakdowns and extend vehicle life. Both are essential: pre-trip inspections catch acute safety issues; preventive maintenance prevents costly failures and maintains vehicle reliability over time.
How should fleet managers document vehicle inspections?
Maintain centralized records showing vehicle identification (company number, year, make, model, serial number), inspection date, mileage, inspector name, findings (defects, wear, fluid levels), severity ratings, and repair actions taken. Include photos of damage or wear when possible. Use consistent naming conventions and organize records by vehicle. Digital systems or spreadsheets with searchable fields improve audit readiness and help track recurring issues. Documentation protects your fleet’s compliance status and supports warranty claims or liability defense.
What are the most common fleet vehicle maintenance issues?
Tire wear and pressure problems are the most frequent issue, followed by brake system degradation, engine oil and filter neglect, battery failure, and suspension component wear. Steering system play and windshield wiper blade deterioration are common oversights. In heavy-duty fleets, hub and wheel bearing wear, air brake system leaks, and transmission fluid condition are critical concerns. Electric and hybrid fleets face battery management and regenerative braking system anomalies. Regular inspection and preventive maintenance catch these issues before they cause downtime or safety failures.